Hi there,
Administration is a process packed with twists and turns, without proper knowledge and experience, it will be more complicated. But, in IT administration sector, we are blessed with a lot of tools that can ease out the daunting hassles, phpMyAdmin is one of that kind.
Today, let’s check more about phpMyAdmin and how it’s going to help us out.
phpMyAdmin is one of the most used open-source application for managing MySQL database. This is the free and open-source web-based application written in pHp. Also, to offer the ability to accomplish administrative tasks such as creating, editing, or deleting databases and managing users and permissions.
There are a few requirements that we have to ensure before heading to install phpMyAdmin in our systems. Let’s have a look at what all are they?
First, we go to the phpMyAdmin Installation, we should install LAMP stack on your server If you want LAMP installation below go with below URL:
https://medhahosting.com/how-to-install-lamp-in-centos/
Phpmyadmin is not available in the CentOS repository, So, we will install and enable the EPEL repository.
yum -y install epel-release
Then, start the webserver and permit it to start upon server boot.
rpm -Uvh http://rpms.famillecollet.com/enterprise/remi-release-7.rpm
Once it is completed enableEPEL repository, after that we can proceed with the installation of phpMyAdmin
yum -y install phpmyadmin

Once completed, the installation included on Apache Configuration file has to put into place.
So we need to modify admin.conf, so open that file with your favorite text editor.
vi /etc/httpd/conf.d/phpMyAdmin.conf
Present, this setup is configuring to deny access to any connection not being made from the server itself. So, we need to modify some lines to specify the IP address of your home Connection.
Require ip your_IP_address
Allow from your_IP_address
Require ip your_IP_address
Allow from your_IP_address

After successful modification, We will restart Apache web server.
systemctl restart httpd.service
Then, go to your favorite web browser then open followed URL
http://IP_Adress/phpmyadmin
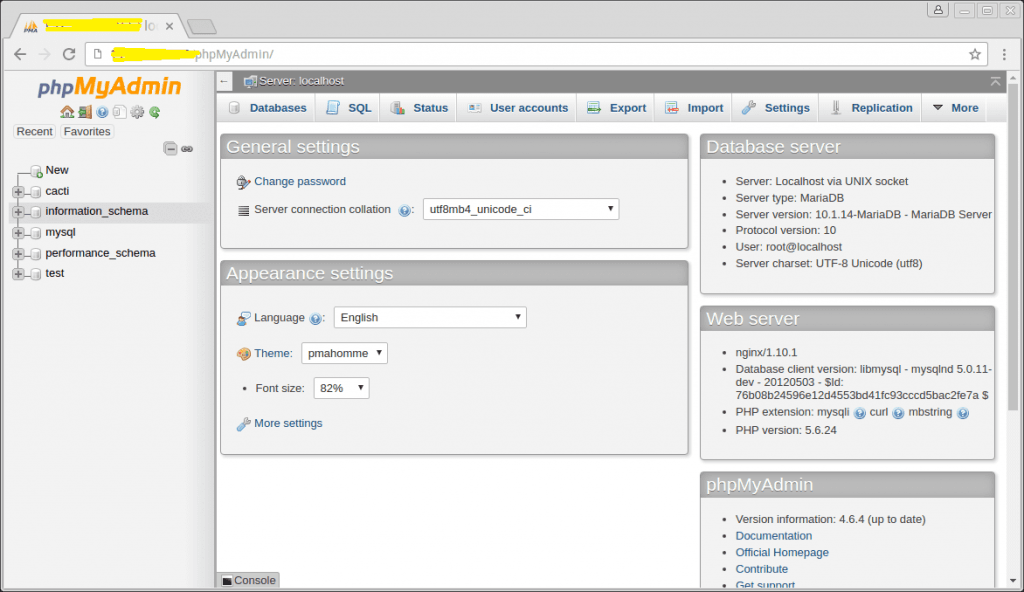
After that, it opens the phpMyAdmin interface as shown in the below image.

That’s all. Thanks for reading, I hope you will find all the required information.
So, you learned to handle one of the most appreciated administration tools for MySQL and MariaDB.
Read https://medhahosting.com/benefits-nagios-install-centos-7/
However, if you come across with any hassles that perplex you feel free to reach us at medhahosting
See you all with another amazing blog post.
Stay tuned.
