Hi,
Technically, the importance of monitoring our servers and systems are indispensable. Also, we can not predict the next moment in life. Similarly, we cannot foresee or expect any good or bad; we have to go with the possible measure to prevent any incidents.
So, in that way, Nagios is helping us all outrightly to upkeep ur servers and our business intact. Today let's check what are the benefits of Nagios and how to configure it.
Further, for more details about server, support reach us @medhahosting
Nagios is the most extensively used open-source monitoring tool that helps us to monitor the application, and its services that run on Windows, Linux, Routers, and other network machines.
Also, it is an open-source application that opens us an opportunity to take centralized monitoring of the equipment and the network in a possible simple way.
Nagios delivers information like CPU utilization, Disk utilization, Memory utilization & also supports some protocols like SMTP, HTTP, POP3, SNMP, ICMP, FTP, SSH, in networking. Nagios displays all the info concerning all the servers on a single screen using its web-interface.
Nagios is suitable for keeping a record of your servers and assures your critical services are in function. Employing a monitoring system, like Nagios, is an indispensable tool for any creative server environment.
A LAMP stack is an obligatory requirement for installing Nagios.
Please follow this guide if you need to set that up: How To Install LAMP stack On CentOS 7.
1. Dedicated/VPS server
2. Root access on the server
3. Internet
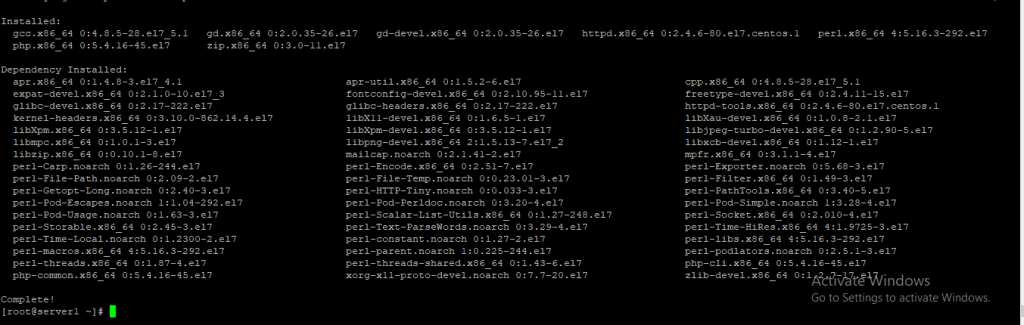
We have to install some adequate packages such as Apache, Php & packages required for building the source packages, use the command below to install these packages.
Install all packages in a single command
yum -y install httpd php gcc glibc glibc-common wget perl gd gd-devel unzip zip
Download & extract the Nagios & its plugins files. Check the download links that are mentioned below
wget https://sourceforge.net/projects/nagios/files/nagios-4.x/nagios-4.3.2/nagios-4.3.2.tar.gz
wget https://nagios-plugins.org/download/nagios-plugins-2.2.1.tar.gz

To extract the packages, run following commands
tar -zxvf nagios-4.3.2.tar.gz
tar -zxpvf nagios-plugins-2.2.1.tar.gz
Let’s create a Nagios user and nagcmd group for permitting the external commands to be implemented via the web interface, add the Nagios and apache user on the nagcmd group.
useradd nagios
passwd nagios
groupadd nagcmd
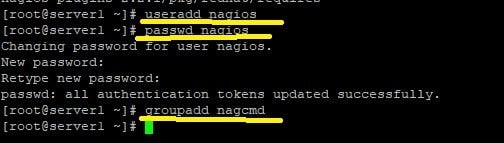
Our next task is adding both the Nagios user and the apache user to the nagcmd group.
usermod -G nagcmd nagios
usermod -G nagcmd apache
Now can move further to install Nagios, for that reach to the folder with extracted Nagios core files & compile the extracted files
Download latest Nagios Core.
cd nagios-4.3.2
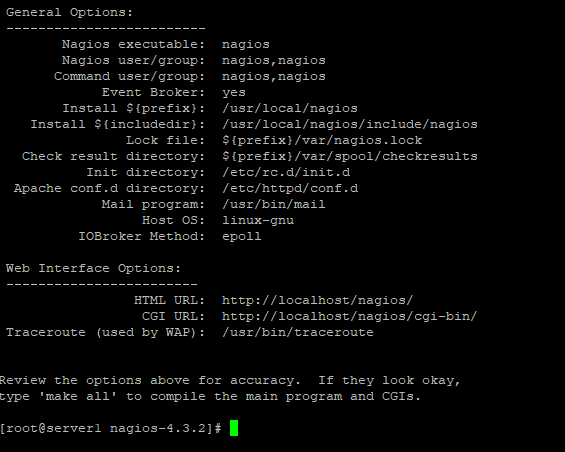
./configure --with-command-group=nagcmd
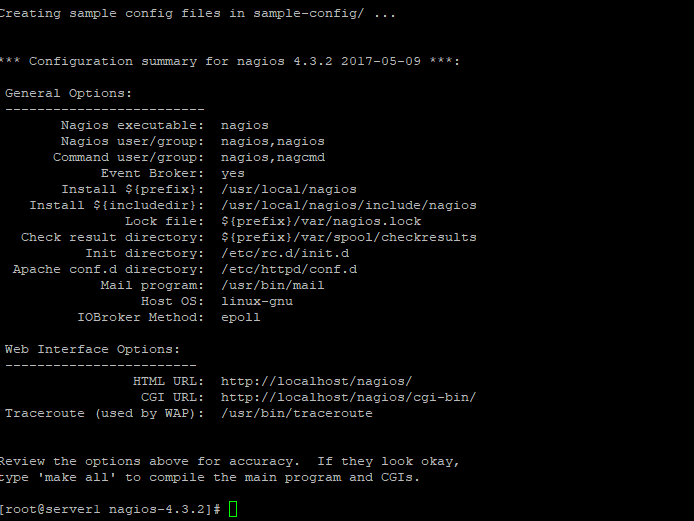
The next process is installing the compiled Nagios package by running,
make all
make install
Once it is employed, we need to install init scripts, command mode (to do Nagios work from CLI) & also have to install some sample Nagios files.
make install-init
make install-commandmode
make install-config
make install-webconf
The web interface can be installed with a preset username ‘nagiosadmin‘ but there will be no preset password for the user. We have to create default password for the user by applying the following command,
htpasswd -s -c /usr/local/nagios/etc/htpasswd.users nagiosadmin
New password:
Re-type new password:
Adding password for user nagiosadmin

By installing Nagios plugins. We can experience its greater compatibility and functionality all the way. Also, we can operate it easily.
So open the Nagios plugin files directory & then we will compile & install the plugins
./configure --with-nagios-user=nagios --with-nagios-group=nagios
make
make install
Installation of Nagios plugins is also complete.
This is an optional step. It helps us to get informed and we can receive alerts on Nagios 24/7.
Let’s see how to configure email
vi /usr/local/nagios/etc/objects/contacts.cfg
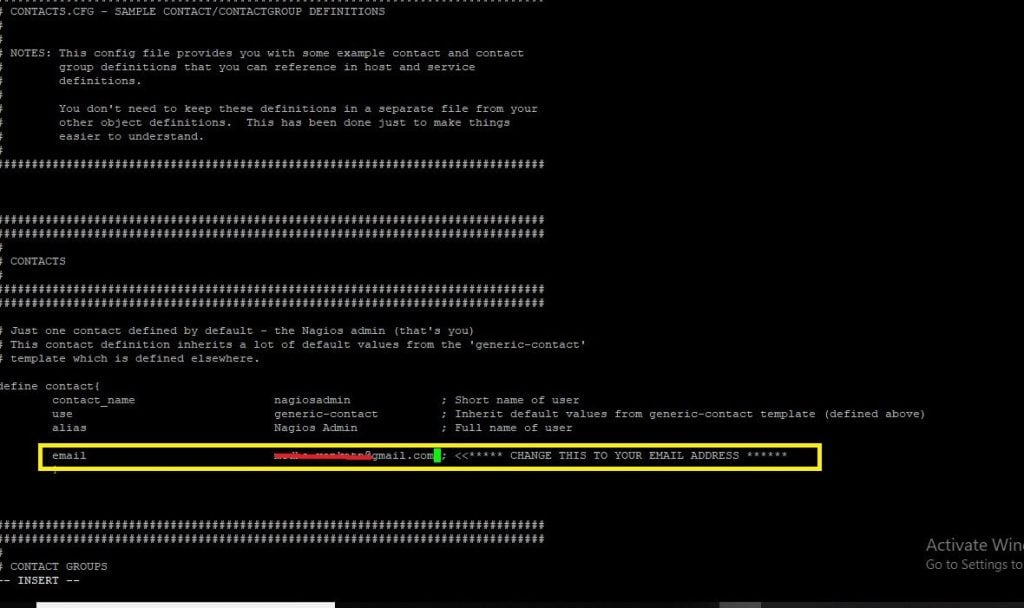
Now, enter your email, After successful saving restart apache server
systemctl restart httpd
The last level is now to validate the Nagios configuration file counter to a sample configuration file
/usr/local/nagios/bin/nagios -v /usr/local/nagios/etc/nagios.cfg
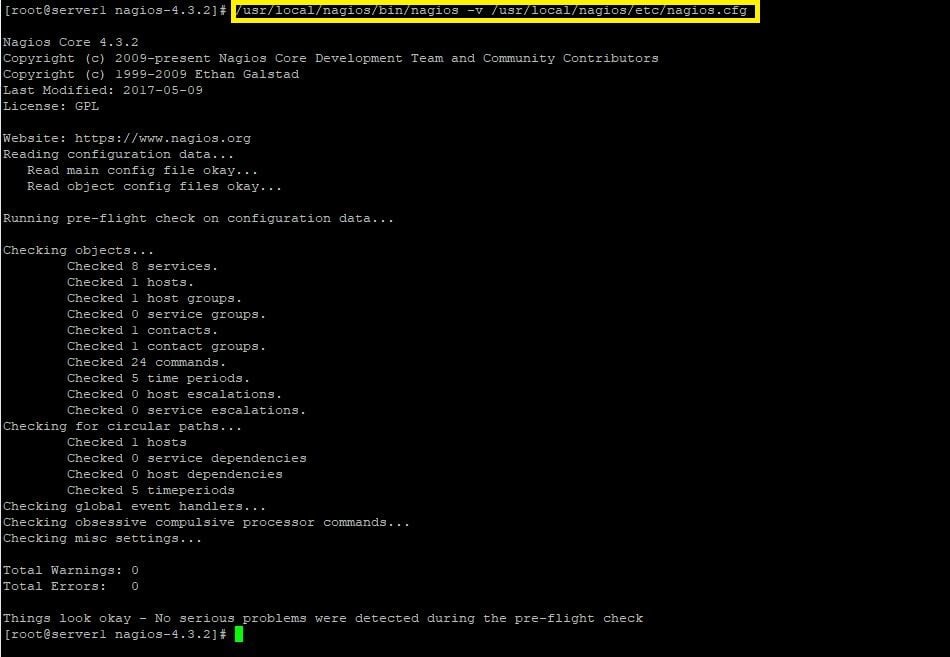
This is for assuring that all the associated settings related to Nagios configuration file are correct.
Also, by doing this, it will inform the clinging issues with the file.
Once we are sure about the config file is error-free, we can restart Nagios and Apache server execute the changes
systemctl restart nagios
systemctl restart httpd
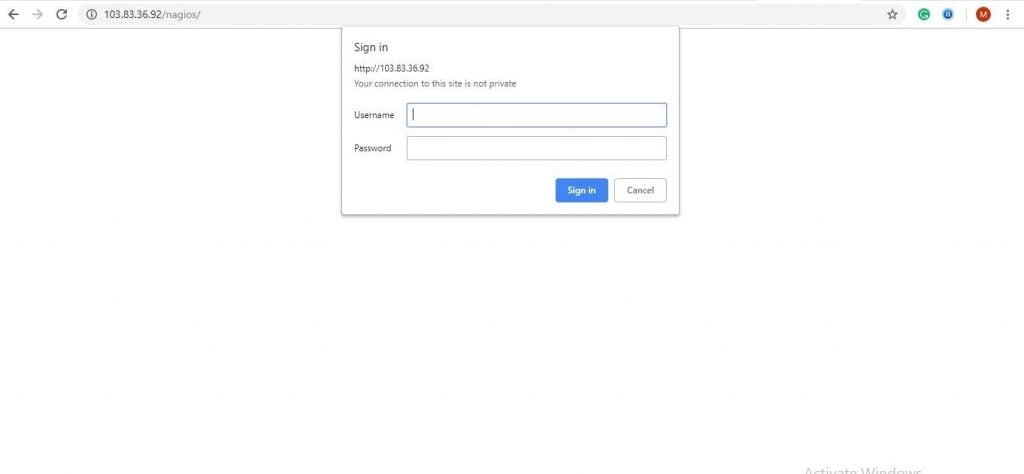
You can access Nagios web interface using the URL mentioned below. As usual, you will be asked for the username (nagiosadmin) and password that you specified earlier.
http://IP-Adress/nagios
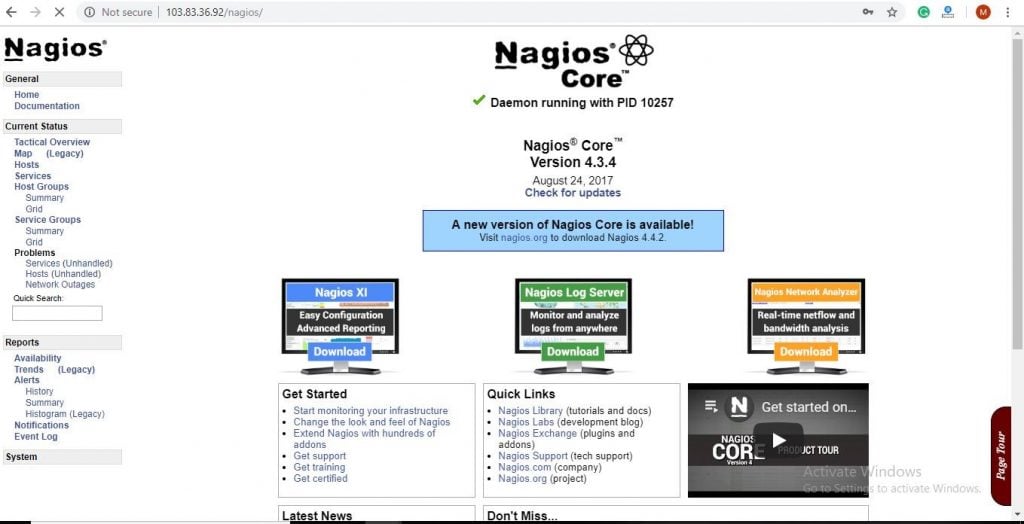
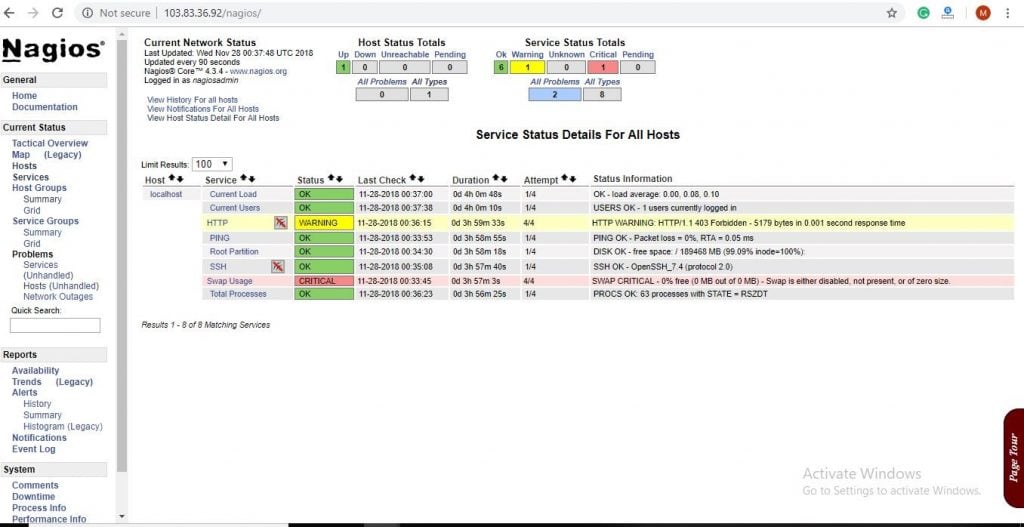
We can access the home page of Nagio server when it is successfully authenticated. You can see the screenshots of different pages accessible on the interface.
But as you can see Nagios is only showing services that are from Localhost, i.e. system on which has been installed. LIkewise, we will now add a windows machine to be monitored by Nagios server.
In this section, let’s learn how to add a new host to Nagios. Also, if you want to monitor each CentOS or RHEL server, please repeat the process.
Install the EPEL repository:=
On a server that you want to monitor
yum install epel-release
yum install nrpe nagios-plugins-all
vi /etc/nagios/nrpe.cfg
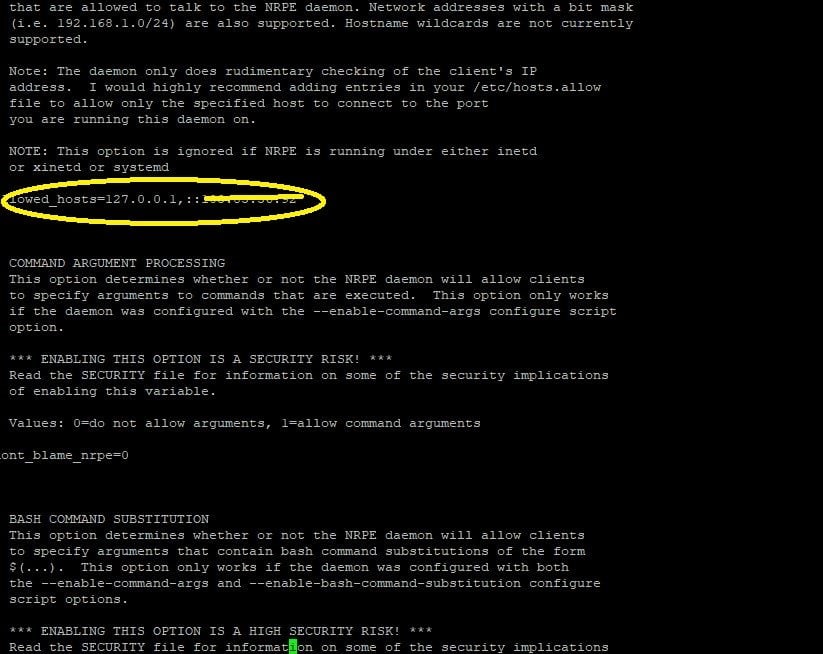
Find the allowed_hosts directive, and add the private IP address of your Nagios server to the comma-delimited list (substitute it in place of the highlighted example):
followed_hosts=127.0.0.1,your IP
Then, Restart NRPE
sudo systemctl start nrpe.service
sudo systemctl enable nrpe.service
Once the installation and configuration of NRPE on the hosts that you want to monitor is done.
We can add a host by creating a new configuration file for each of the remote hosts that you want to monitor on your Nagios server in /usr/local/nagios/etc/servers/. Replace the highlighted word, "your host", with the name of your host:
Add in the following host description, swapping the hostname value with your remote hostname ("web-1" in the example), the alias value with a description of the host, and the address value with the private IP address of the remote host:
define host {
use linux-server
host_name yourhost
alias My first Apache server
address Your IP
max_check_attempts 5
check_period 24x7
notification_interval 30
notification_period 24x7
}
The configuration cited above is relevant only if the host is up or down. I
If it satisfies you, you can save and exit and restart Nagios.
Also, if you want to apply this and monitor other servers, please have a look at the following
define service {
use generic-service
host_name yourhost
service_description PING
check_command check_ping!100.0,20%!500.0,60%
}
SSH (notifications_enabled set to 0 disables notifications for a service):
define service {
use generic-service
host_name yourhost
service_description SSH
check_command check_ssh
notifications_enabled 0
}
Save and quit.
Reload your Nagios configuration to make any changes into effect:
sudo systemctl reload nagios.service
Finally, we have been successfully added our host to Nagios for monitoring. Likewise, we can add more servers to Nagios.
Thank you for giving a read,
So, we hope that you’re skilled enough to configure Nagios in your server. You couldn’t catch all the steps just give a read again, there is nothing to lose, you can learn it clearly.
However, if you are hitting with a dilemma that confuses you while doing it, please feel free to reach us, we are here to support you 24/7.
Also, feel free to reach us for all your server and IT support requirements
Stay tuned...